
Last updated October 30, 2026
 Wrought iron
 Wood & steel frame
 Farm & ranch
 Sliding driveway gates
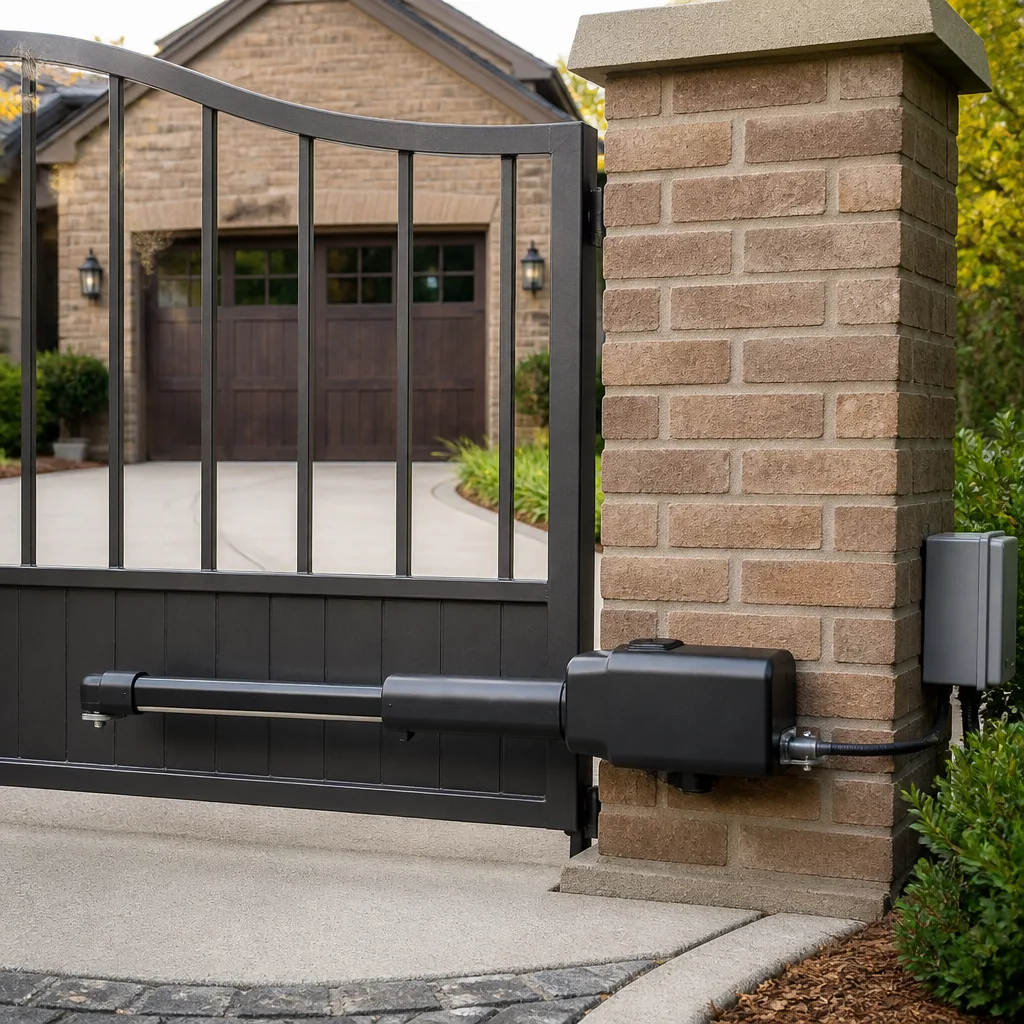 LiftMaster operators
Free on-site gate assessment - hinges, posts, and your LiftMaster or Nice gate operator checked before anything is quoted
The assessment is free and the quote is the invoice.
Get your free estimateGate Repair Troubleshooting: Common Problems and How to Fix Them
Here’s the counterintuitive truth most gate repair guides won’t tell you: if your gate opens with the manual release but not the remote, the problem is almost never the remote. Replacing batteries or reprogramming a transmitter is the wrong first step, and it’s one we see homeowners take at Montclair Gate Repair constantly before calling us. A gate that won’t open can have 14 distinct causes spread across electrical, mechanical, and sensor systems, and jumping to the wrong fix wastes hours and money. This guide is organized by system layer, not by symptom, so you can isolate the actual fault before touching anything. For Gate Repair Warning Signs: A Montclair Homeowner’s Reference Guide, see our companion post.
Quick Answer
Our Gate Repair services start troubleshooting by isolating which system layer failed: power supply, control board, safety sensors, or mechanical drivetrain. A gate that opens manually but not electrically points to power or electronics; a gate that won’t move either way points to mechanical failure. Work through the layers in order, because each one you rule out narrows the field, and test with a multimeter before replacing any expensive component.
Styles & brands we work with
Table of Contents
- Layer One: Power Supply and Voltage Testing
- Layer Two: Control Board Diagnostics
- Layer Three: Safety Sensors and Loop Detectors
- Layer Four: Mechanical Drivetrain Failures
- Limit Switch Failure vs. Obstruction Sensor False Trigger
- Buried Loop Detector Wiring in Sandy and Rocky Soil
- The Degraded Gate: Signs It Will Fail Again Within 60 Days
Layer One: Power Supply and Voltage Testing
Every gate diagnostic starts at the power source, because a control board that reads as “dead” is often just starved. We’ve been called to Montclair homes where the board was replaced by another company, only for the same failure to return two weeks later. The culprit was a transformer putting out 9 volts instead of 24, and the “new” board was never the problem.
Here’s the layer-one test sequence we walk through before anything else:
- Check the breaker. Gate circuits are frequently on a dedicated breaker that homeowners don’t associate with the gate. A tripped GFCI outlet powering a transformer is another common find.
- Test the transformer output with a multimeter. Most residential operators run on 24VAC or 24VDC. If your transformer reads below 21 volts under load, the board is receiving insufficient power. That’s not a board failure, it’s a power failure.
- Test the battery backup. Many LiftMaster, FAAC, and BFT systems include battery backup. A failed battery can drag down the entire DC circuit and cause intermittent behavior. Read voltage at the battery terminals: below 12.2 volts on a 12V battery means replacement.
- Check for corrosion at the terminals. Montclair’s dry summers and occasional wet winters create condensation cycles inside control boxes. Green corrosion on transformer terminals adds resistance. Wire-brush the terminals and re-test before blaming the board.
What this layer rules out: if you have stable 24V at the board input and the board still won’t power up, you’ve confirmed a board-level problem. If voltage is low or absent, you’ve found a power problem and saved yourself a $300 to $800 board replacement.
One thing worth noting for Sky Valley readers specifically: voltage drop over long wire runs from the house to a distant gate post is a real issue. We regularly see 20 to 30 percent voltage loss on runs over 150 feet using undersized wire. A gate that works intermittently and is far from the house may need heavier-gauge wire pulled. Our electric gate repair service in Sky Valley handles these long-run voltage issues frequently, because the terrain and property sizes there make them more common.
Layer Two: Control Board Diagnostics
Once power is confirmed, the control board is the next layer. This is the brain of an automated gate, and boards from Linear and Viking are built to different tolerances than consumer units from Mighty Mule or Ghost Controls. Knowing which you have matters.
A control board can fail in three ways:
- Complete death. No LED indicators, no relay clicks, no response to any input. With confirmed power at the input, this is board replacement territory.
- Partial failure. The board powers up and responds to some commands but not others. For example, it opens from the keypad but not the remote, or closes but won’t open. This is often a relay or input channel failure, not a programming issue.
- Intermittent behavior. The gate works fine for days, then fails randomly. Intermittent board failures are the hardest to diagnose and the easiest to misdiagnose. We look for heat-related failures, cold solder joints, and relay chatter.
How to test a control board before replacing it:
- Confirm 24V at the board’s power input terminals with a multimeter.
- Trigger the board directly by jumpering the open or close input terminals with a short wire. If the board responds, the board is likely fine and the problem is upstream in your input device, remote, keypad, or loop detector.
- Listen for relay clicks when you trigger an input. A click with no gate movement points downstream to the motor or wiring. No click points at the board itself.
- Check the board’s LED diagnostic lights. Most DoorKing and Linear boards have labeled LEDs for power, radio input, loop input, and limit switches. A rapid blink usually signals a fault condition the manufacturer documents in the manual.
Montclair Gate Repair stocks boards and diagnostics for nine major brands, so when we roll up to a Montclair driveway with a dead Viking or a flaky DoorKing, we already know the failure signatures for that specific board. That’s the difference between a 45-minute fix and a two-visit trial-and-error job.
Layer Three: Safety Sensors and Loop Detectors
After power and board are confirmed, the next layer is sensors. This is where most “phantom” gate problems live. A gate that starts to open, then reverses, or one that won’t close at all, is frequently reporting a false obstruction from a photo eye or safety loop.
Here’s what we check in this layer:
- Photo eye alignment. The transmitter and receiver must face each other within a few degrees. Gate posts shift over time, especially in Montclair’s clay-heavy soil, and an eye that was aligned five years ago may be pointing at the wrong spot today. Misalignment causes the gate to refuse to close or to reverse mid-cycle.
- Photo eye wiring. Pinched or nicked wires across gate hinges are common after years of opening and closing. A wire that grounds out intermittently will trigger false obstruction signals every time the gate flexes.
- Loop detector sensitivity. Buried induction loops under the driveway detect vehicles and prevent the gate from closing on them. A loop detector set too sensitive will trigger on metal objects nearby, a passing truck, or even rebar in the concrete. Too insensitive and the gate won’t detect a car at all.
- Edge sensor failure. Contact edges on the gate’s leading edge stop the gate if something is in the path. Water intrusion into the edge sensor is a common failure we see after Montclair’s winter rain season. A failed edge sensor can behave like a permanent obstruction, keeping the gate from closing.
The critical diagnostic move here: bypass the sensor circuit temporarily and operate the gate manually via the board’s direct input. If the gate opens and closes normally with sensors bypassed, the problem is in the sensor layer, not the motor or board. If the gate still malfunctions with sensors bypassed, move to layer four.
Safety note: bypassing sensors is a diagnostic step only. Don’t operate a gate long-term with safety loops or photo eyes disconnected. An automated gate that closes on a vehicle or person is a serious liability. If you’re not confident working with sensor wiring, call us at (866) 371-3309. For readers in the desert communities, our gate repair service in Sky Valley sees a disproportionate number of photo eye failures from dust and sand blasting on the lenses, which doesn’t happen as often in landscaped neighborhoods.
Layer Four: Mechanical Drivetrain Failures
If power, board, and sensors all check out, the mechanical layer is where the fault lives. This includes the motor, gearbox, chain or belt drive, wheels, tracks, hinges, and the physical gate structure itself. Mechanical failures are usually obvious once you look, but they can also hide in plain sight.
Common mechanical failures we see in Montclair driveways:
- Stripped gears. Plastic gears in consumer operators, Mighty Mule and Ghost Controls especially, are designed to fail before the motor burns out. A grinding noise with no gate movement is the classic signature. The board clicks, the motor spins, and a stripped gear transmits nothing.
- Bent or sagging gate leaves. A steel gate that’s been hit by a car or has sagged on its hinges over years will drag on the ground or bind against the post. The operator may be perfectly healthy and still unable to move the gate because the mechanical load exceeds its capacity.
- Worn drive chain or belt. Chain drives stretch, belts crack, and both eventually slip. A gate that moves partway and then stalls, or one that jerks while opening, often has a drive component on its last legs.
- Failed bearings and wheels. Cantilever gates and slide gates ride on wheels that wear out. Flat spots on the wheels cause the gate to shudder and bind. We’ve seen wheels worn completely through to the hub on commercial gates that get hundreds of cycles a day.
- Seized hinge pins. Manual gates and swing gate leaves that won’t budge often have rusted or seized hinges. In Montclair’s dry climate this is less common than in coastal areas, but where irrigation overspray hits the hinges, rust follows.
The test for mechanical problems: disconnect the operator and try to move the gate by hand. A properly balanced gate moves with moderate effort. If you can’t move it manually, no operator in the world will move it either. The fix is mechanical, not electrical.
If you find the gate leaf itself is damaged or the operator is beyond repair, Montclair Gate Repair handles full gate installation in Sky Valley as well as repairs, so you’re not stuck trying to patch a gate that’s already at the end of its service life.
Limit Switch Failure vs. Obstruction Sensor False Trigger
These two failures produce nearly identical symptoms: a gate that stops mid-cycle, reverses when it shouldn’t, or won’t complete a full open or close. But the fixes are opposite, which is why knowing the difference saves real money.
Limit switch failure. The limit switches tell the operator where the gate is in its travel. When a limit switch fails, the operator doesn’t know when to stop. A gate that opens fully but then immediately tries to keep going, grinding against the stop, is a limit switch problem. Same with a gate that stops halfway and won’t continue: the board may think it’s already reached the limit.
The diagnostic: check the switch’s physical condition. On older LiftMaster and FAAC operators, limit switches are mechanical microswitches that physically actuate. On newer systems they’re magnetic or optical. A multimeter continuity test across the switch terminals while the gate moves tells you if the switch is opening and closing. No continuity change when the switch actuates means the switch is dead.
Obstruction sensor false trigger. A gate that reverses halfway through closing is usually reporting an obstruction from a photo eye, loop detector, or edge sensor. The board is doing exactly what it’s supposed to do with the wrong information.
The diagnostic: bypass each sensor one at a time. If the gate closes normally with the photo eye bypassed, the eye or its wiring is the fault. If it closes with the loop bypassed, the loop detector or the buried loop wire is the problem. The key difference from a limit switch failure: a false obstruction trigger makes the gate reverse, while a limit switch failure makes it stop.
We carry every common limit switch type in our Montclair service vehicles, because a $12 switch shouldn’t turn into a $400 board replacement. That board replacement happens more often than it should when a technician misreads the symptoms and swaps the wrong layer.
Buried Loop Detector Wiring in Sandy and Rocky Soil
Buried loop detectors are a specific failure point worth their own section because the symptoms are often mistaken for board or motor problems, and because the environment around Sky Valley makes them fail in predictable ways.
A buried loop is a coil of wire installed under the driveway surface. When a car drives over it, the metal changes the loop’s inductance, and the loop detector tells the gate to open or hold open. The wire itself is the weak point.
Failure patterns we see repeatedly in sandy and rocky soil:
- Rock abrasion. Sharp granite and decomposed rock in the soil slowly rub through the wire insulation over years of soil expansion and contraction from temperature swings. The wire eventually grounds out and the loop reads as always-triggered or never-triggered.
- Sandy soil settling. Loose sandy soil shifts more than compacted clay. That movement stretches and eventually snaps the loop wire. A loop that fails intermittently as the seasons change is usually a stretched wire making and breaking contact.
- Poor original installation. A loop that was not buried deep enough, was placed without a proper saw cut and sealant, or used the wrong wire gauge will fail early. We see loops fail in three years that should have lasted fifteen.
The diagnostic: a loop detector with an LED that’s stuck on or stuck off. Most loop detector boards have a visible LED that lights when the loop is triggered. If the LED is on with no vehicle present, the loop is grounded or shorted. If the LED never lights even with a car on the loop, the loop is open. Both point to the buried wire, not the detector module.
Repairing a buried loop means cutting a new trench, laying new wire, and sealing it properly. It’s not a DIY job for most homeowners, but it’s a job we do regularly. Our gate repair services in Sky Valley address loop failures where the sandy and rocky conditions make this a recurring issue.
The Degraded Gate: Signs It Will Fail Again Within 60 Days
A gate that’s been “fixed” but hasn’t been restored to proper working condition will fail again, and usually faster than you expect. Here are the degradation signatures we look for that most homeowners and many technicians miss.
Motor overheating. After a repair, run the gate through three or four full cycles and then touch the motor housing. If it’s too hot to hold your hand on for five seconds, the motor is working too hard. The cause might be a misaligned gate leaf, dry bearings, or a drive chain that’s too tight. The motor will burn out, often within weeks.
Operator struggling at one point in the travel. Watch the gate closely as it moves. A gate that slows noticeably at the same point every cycle has a mechanical bind at that spot: a bent track, a tight hinge, a wheel flat spot. The repair may have fixed an electrical problem, but the mechanical bind remains and will eventually kill the new components.
Chain or belt tension wrong after a motor swap. A new motor with an over-tightened chain puts axial load on the output shaft bearing. The bearing fails, the shaft wobbles, and the gear strips. We see this within 30 to 60 days on gates where the previous repair was a motor-only swap without proper tensioning.
Limit switches readjusted instead of replaced. If a limit switch was failing intermittently and the “fix” was moving the physical stop or adjusting the travel setting, the switch will fail completely soon. Unless the switch tests good, it’s a patch, not a repair.
Corroded connections cleaned but not sealed. Cleaning corrosion off terminals restores contact, but if the terminals aren’t protected afterward, the corrosion returns faster than the original growth period. A connection that took five years to corrode the first time might corrode again in six months once the protective coating is gone.
Montclair Gate Repair’s approach is to restore the gate to full working condition, not just silence the immediate symptom. For a commercial client with a Viking operator on a multi-unit property or a homeowner with a Ghost Controls swing gate, that means the fix lasts years, not weeks. If you’ve had a gate “fixed” recently and it’s already showing signs of trouble, call us at (866) 371-3309. We’ll trace the actual fault.
Common Mistakes to Avoid
- Replacing the remote or reprogramming first. If the gate opens from the manual release but not the remote, the remote might be fine. Test the board’s direct input first. We’ve had Montclair customers buy three remotes before calling us, and the board input channel was dead the whole time.
- Ignoring low voltage. A transformer reading 20 volts instead of 24 will cause intermittent board behavior that looks like a board failure. Test voltage at the board before buying a board.
- Lubricating without cleaning. Spraying fresh lubricant over sandy grit creates an abrasive paste that accelerates wear on chains, rails, and bearings. Clean the surface first, then lubricate.
- Bypassing safety sensors permanently. Disconnecting a photo eye or loop detector to make the gate work removes the safety system. A gate that closes on a car or a child is a catastrophic liability, and the repair bill will dwarf the sensor replacement.
- Replacing the motor without checking the mechanical load. If the gate is binding from a bent leaf or worn wheels, a new motor will fail the same way the old one did, and sooner. Find the bind before the swap.
- Using generic parts for brand-specific systems. A DoorKing board has different input logic than a Linear board. A generic “universal” part that mostly works is a compromise that shortens the life of every component it touches.
- Assuming a stuck gate is safe to leave. A gate that won’t close is a security gap. A gate that won’t open is a fire access problem. Neither should wait, especially for commercial properties where code compliance matters.
See the difference
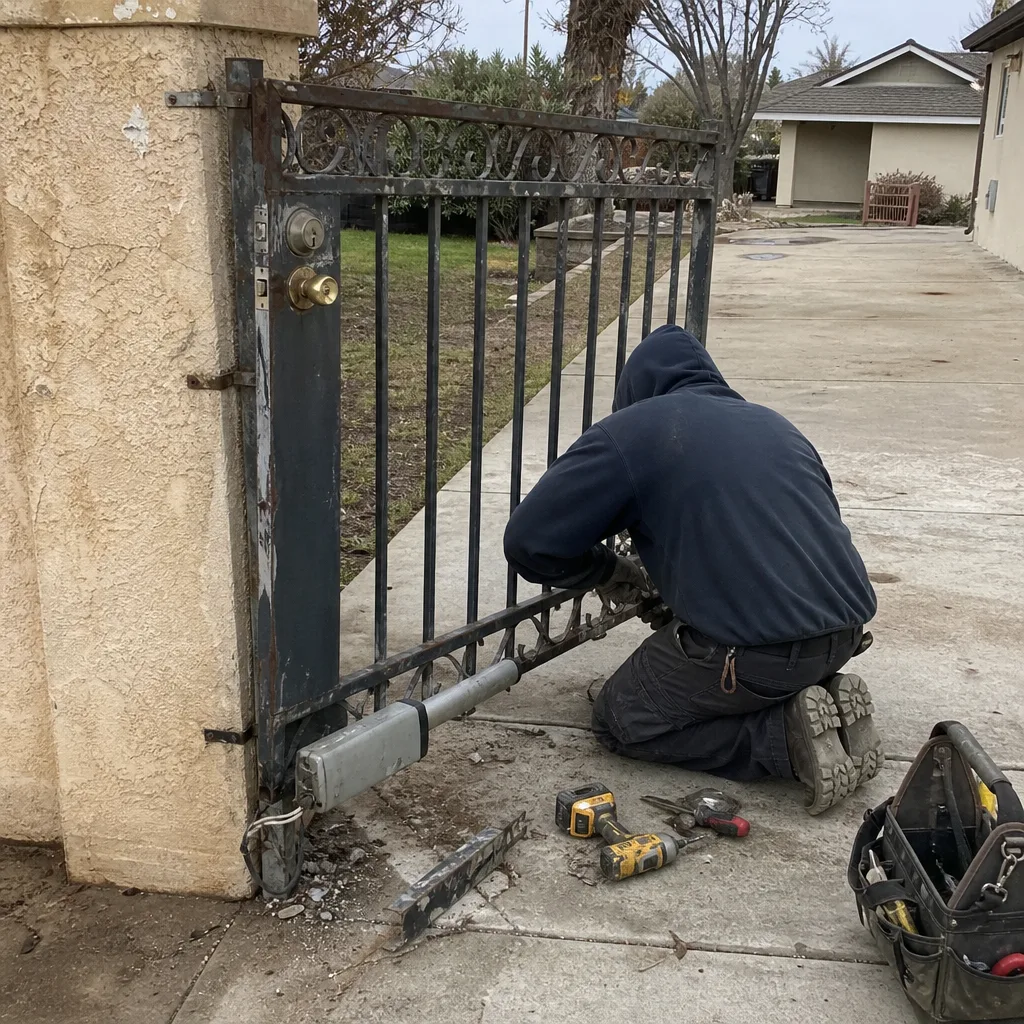 Before
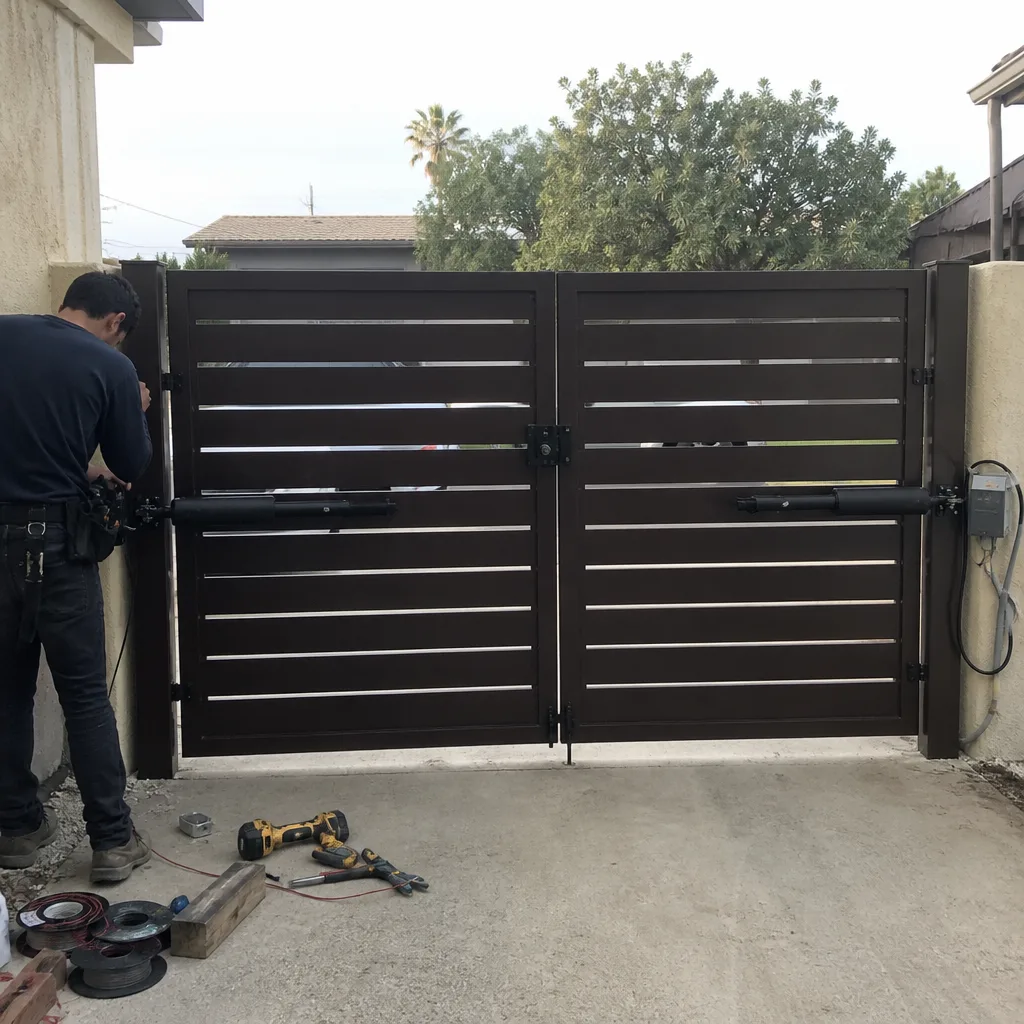 After
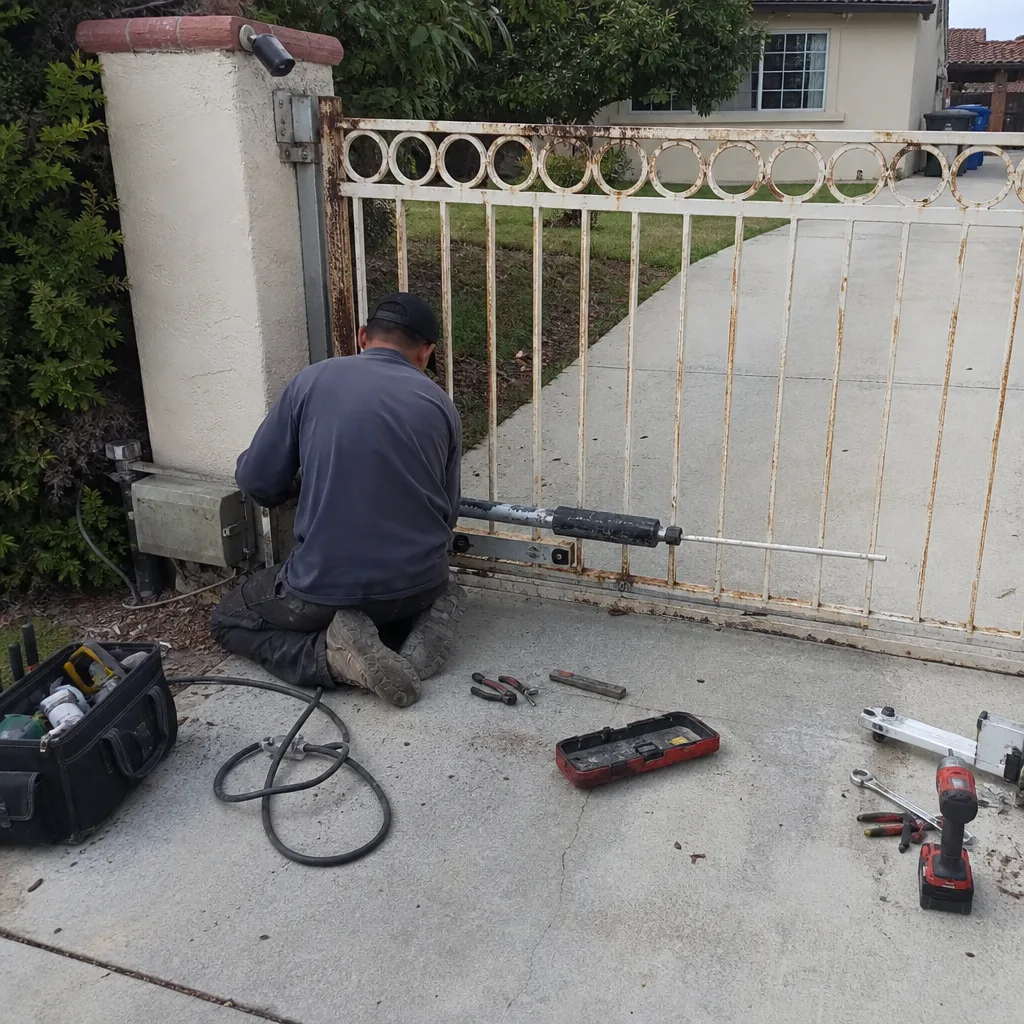 Before
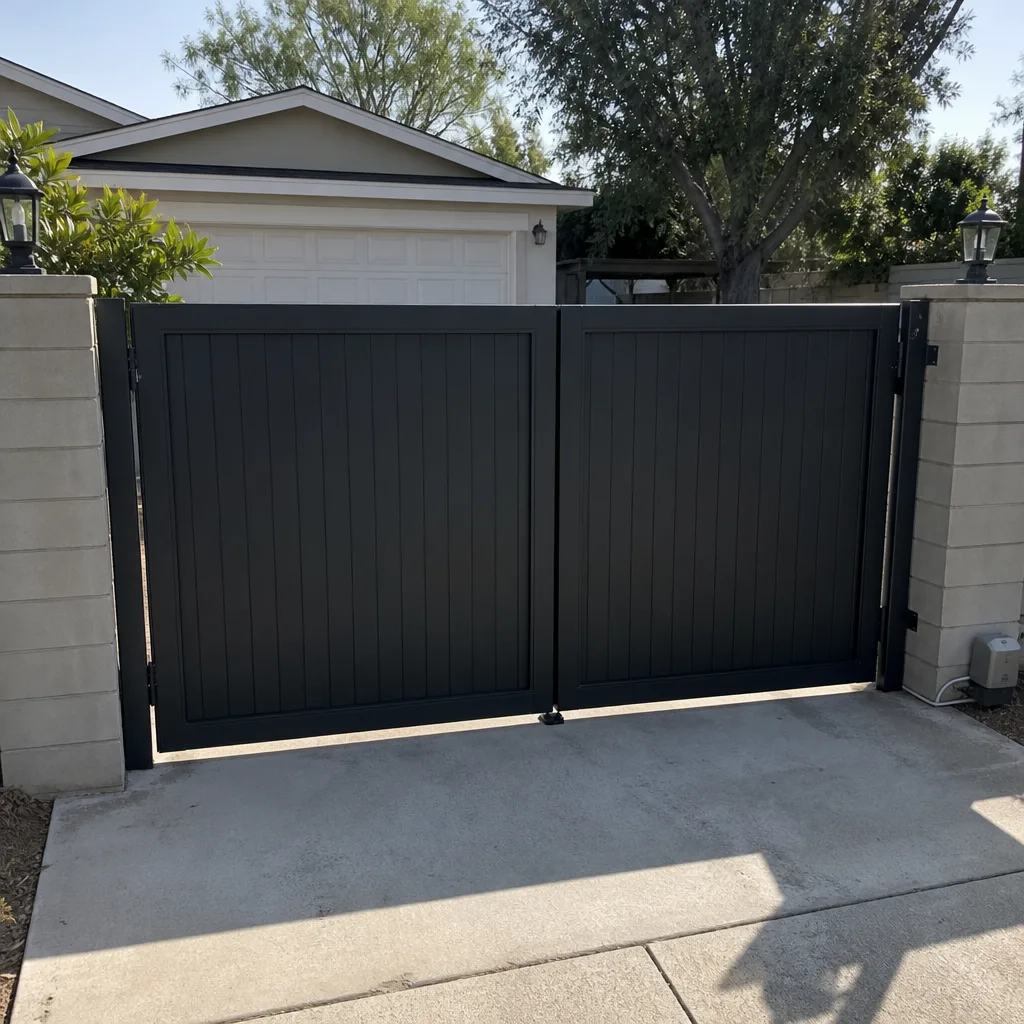 After
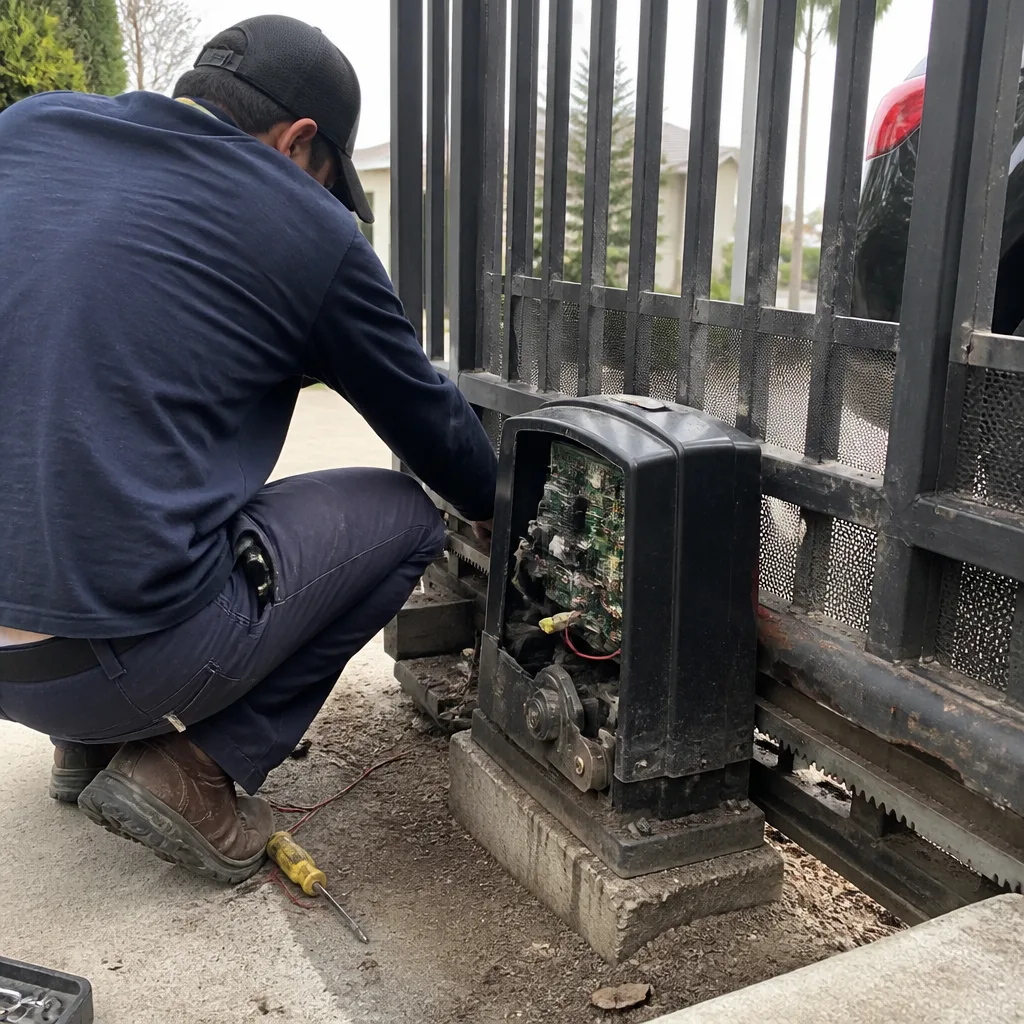 Before
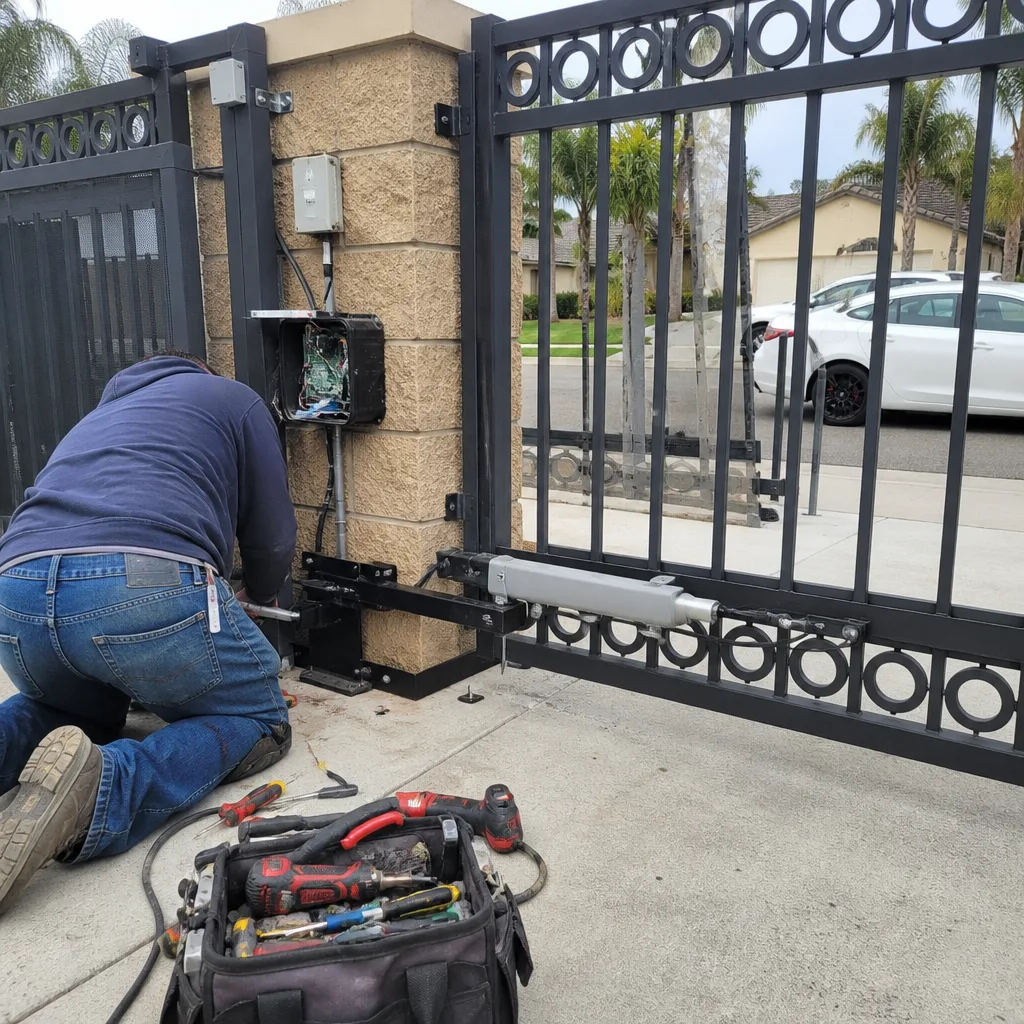 After
When to Call a Professional
Some gate failures are safe to diagnose on your own: a tripped breaker, a clearly broken chain, a gate leaf visibly sagging on its hinges. But when the problem involves control board diagnostics, buried loop wiring, high-voltage connections, or a gate leaf that’s too heavy to move safely by hand, call a professional. See How to Hire a Gate Repair Contractor in Montclair: A Step-by-Step Guide for what to look for. Control boards and loop detector wiring carry enough voltage to damage equipment if you short the wrong terminals, and a heavy gate leaf can cause serious injury if it falls while you’re working on the hinges. Montclair Gate Repair offers free estimates in Montclair, call (866) 371-3309. We work on your brand, whether it’s a Viking commercial operator or a Ghost Controls residential unit, and we trace the fault properly before replacing anything.
Frequently Asked Questions
The remote is usually working; the problem is upstream of the motor. Test the board by jumpering the open input directly. If the gate opens, the board is fine and the issue is in the remote receiver or the remote itself. If the gate doesn’t open, the board’s input channel is dead. Don’t reprogram anything until you know which it is. Call (866) 371-3309 for a diagnostic if you’re not comfortable testing the board.
Cost depends entirely on which layer failed. A limit switch replacement runs $50 to $150 in parts plus labor. A control board replacement for a Viking or DoorKing operator runs $300 to $900 in parts. A new motor and gearbox can hit $1,200 to $2,500 on commercial systems. The diagnostic fee is what prevents paying for the wrong fix. Call (866) 371-3309 for an exact quote, estimates are free.
Most common failures, limit switches, photo eyes, loop detector modules, and power supply issues, can be fixed the same day in the Montclair area. Parts for specific brands like Linear or DoorKing are usually on our trucks. Larger mechanical repairs or full gate replacements take longer because parts and materials are ordered for your specific setup. Call (866) 371-3309 and tell us your brand and symptoms, and we’ll tell you what’s realistic.
That pattern is most often a false obstruction trigger from a photo eye, edge sensor, or loop detector. The board thinks something is in the gate’s path. Test by bypassing sensors one at a time. If the gate closes normally with one sensor bypassed, that sensor or its wiring is the fault. A limit switch failure usually stops the gate rather than reversing it.
Montclair Gate Repair services nine major gate operator brands, including Linear, Viking, Ghost Controls, and DoorKing, plus LiftMaster, FAAC, BFT, Elite, and Mighty Mule. That covers everything from consumer-grade residential swing gates to high-end commercial systems. If your brand isn’t listed, call (866) 371-3309 and ask, we’ve worked on more operators than we list on the website.
A proper repair that addresses the actual fault should last years, not months. A motor replacement on a gate with an unresolved mechanical bind will fail again within weeks. A corroded connection that’s cleaned but not sealed will corrode again within a season. We test the full system after every repair, run multiple cycles, and verify the gate isn’t just working, but working without excessive load. If a repair we’ve done fails inside of a reasonable window, call (866) 371-3309 and we’ll make it right.
The Bottom Line
Gate troubleshooting works best when you think in layers: power first, then control board, then sensors, then mechanical drivetrain. Each layer you test and clear narrows the field, and skipping ahead is how you end up replacing a board when the real problem was a corroded transformer terminal. Test with a multimeter before buying parts. Treat sensor bypassing as diagnostic only. And if the gate has been “fixed” once already and is acting up again, the previous repair probably missed the root cause. Montclair Gate Repair services Montclair and the surrounding communities, works on nine major operator brands, and handles everything from a bent gate arm to a full installation. When the gate’s down and you’re stuck, call (866) 371-3309 and get a technician who already knows your brand. See our Montclair Gate Repair home page for the full scope of services.
Written by the team at Montclair Gate Repair, serving Montclair since 2013. Browse more guides & resources from our team.