
Last updated October 30, 2026
 Wrought iron
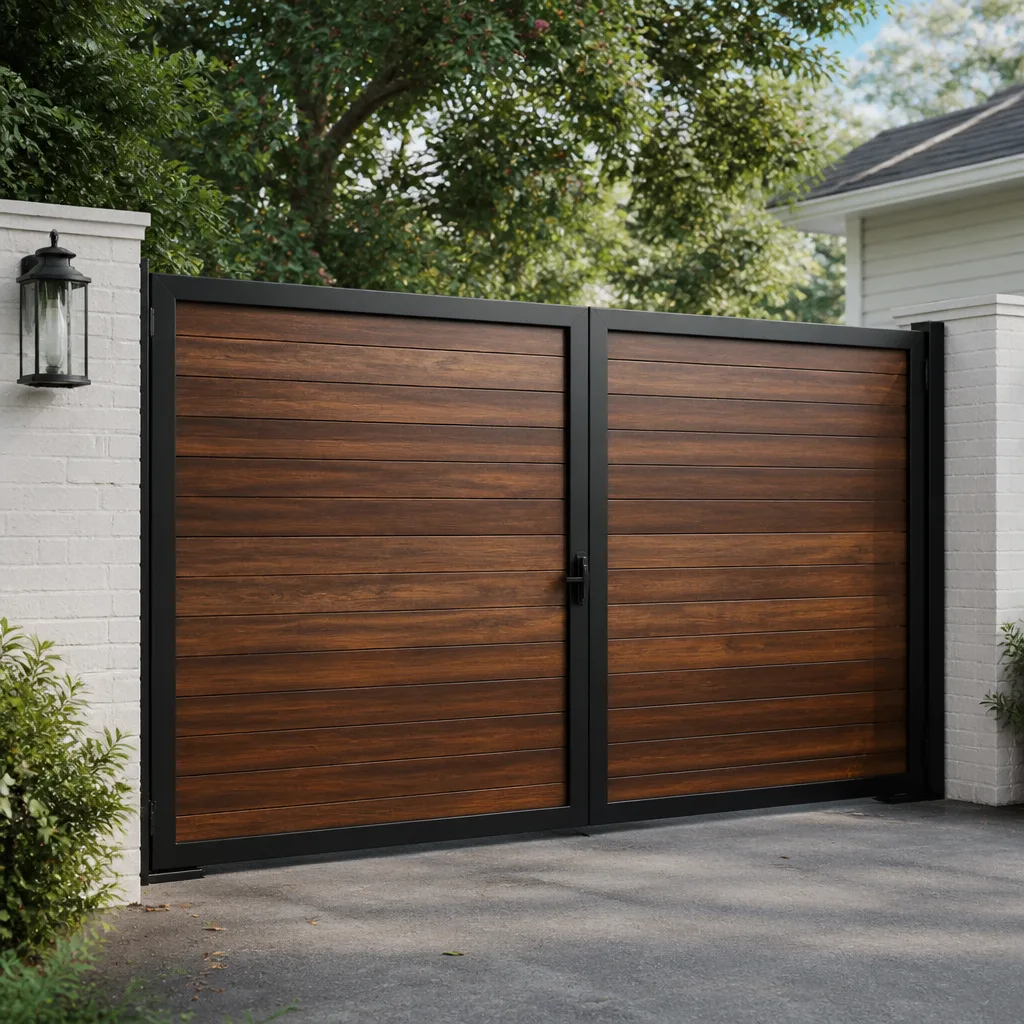 Wood & steel frame
 Farm & ranch
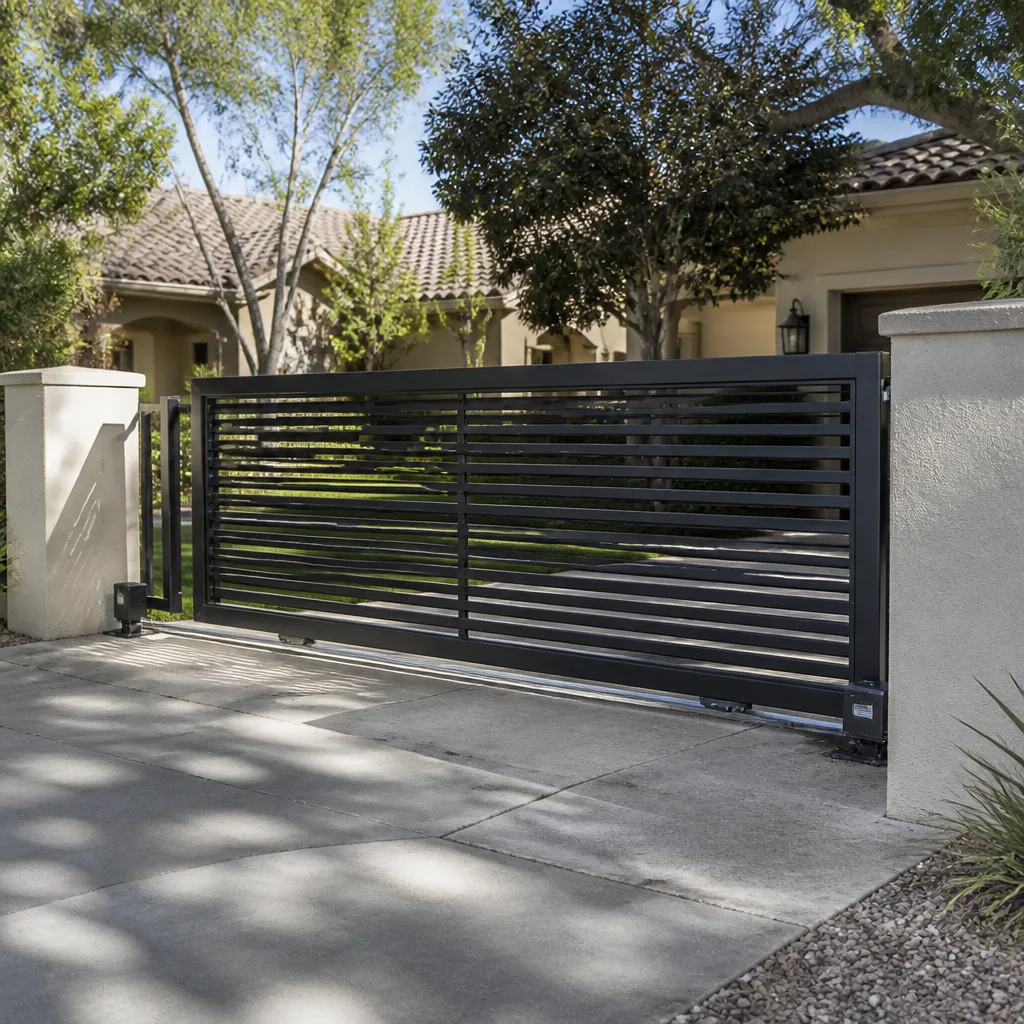 Sliding driveway gates
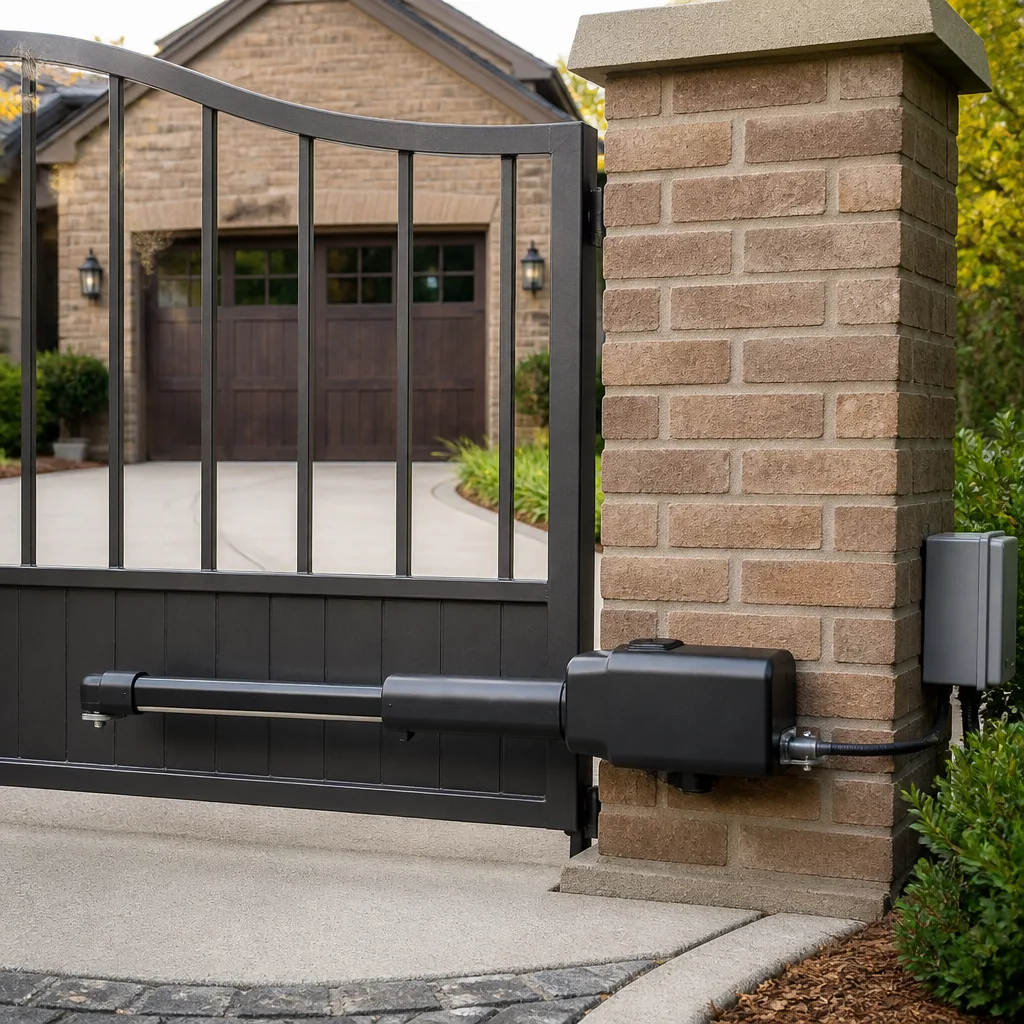 LiftMaster operators
Free on-site gate assessment - hinges, posts, and your LiftMaster or Nice gate operator checked before anything is quoted
The assessment is free and the quote is the invoice.
Get your free estimateGate Repair Maintenance Checklist for Montclair Homeowners
The single most skipped maintenance task on automated gates is lubricating the chain or rack. We see the result of that skip all over Montclair: operators with stripped gearboxes, burned motors, and broken chains that snap without warning. A gate that groans or shudders while opening is usually telling you something simple weeks before the bill gets big. This guide walks you through a maintenance sequence that follows how a technician actually inspects a gate, from the ground up and mechanical first, so small wear doesn’t turn into a mid-February failure at the worst possible time. If you own a driveway gate in Montclair, these fifteen minutes a season will save you more than any other task you do on the property.
Styles & brands we work with
Quick Answer
A gate maintenance checklist for Montclair homeowners should follow a failure-sequence order: start with the ground track and hinges, check the gate’s physical movement by hand, then inspect the operator, electrical connections, and safety devices. For issues beyond DIY maintenance, our Gate Repair services can handle the fix. Done quarterly, this sequence catches the mechanical wear that later destroys motors, control boards, and gearboxes. Most gates need no special tools for these checks; a few items require a multimeter or an experienced eye.
Table of Contents
- Why Sequence Matters: Mechanical Before Electrical
- Step 1: Ground-Up Inspection – Track, Hinges, and Posts
- Step 2: The Hand Movement Test (You’ll Hear Problems Before You See Them)
- Step 3: Lubrication Points and Products for Montclair’s Climate
- Step 4: Operator Inspection – Chain, Belt, Arm, and Gearbox
- Step 5: Testing Safety Reversals and Photo Eyes Without Special Tools
- Step 6: Battery Backup Condition Checks
- Step 7: Electrical Checks That Separate DIY From Pro Work
- Common Mistakes to Avoid
- When to Call a Professional
- Frequently Asked Questions
- The Bottom Line
Why Sequence Matters: Mechanical Before Electrical
Most online maintenance checklists organize components alphabetically or by category: electrical, hinges, operator, track. That approach feels organized but misses how failures actually happen. A misaligned hinge isn’t just a hinge problem. It loads the operator’s gearbox unevenly. A dragging wheel on the track isn’t just a wheel problem. It raises the motor’s amp draw every single cycle until the control board overheats or a capacitor fails. In Montclair, where summer heat already pushes control boards and motors toward their thermal limits, an unresolved mechanical bind is the difference between a component lasting ten years and dying in three.
So we organize the checklist in the order a technician walks a gate: ground contact first, then the gate’s movement by hand, then the operator, then the electrical and safety layer. This forces you to find the mechanical wear before it has a chance to become an electrical repair. The rule is simple: if the gate doesn’t move freely by hand with the operator disengaged, no amount of electrical work is going to make it move correctly under power.
Step 1: Ground-Up Inspection – Track, Hinges, and Posts
Start where the gate meets the ground. For a sliding gate, that’s the track and the wheels or rollers. For a swing gate, it’s the hinges and the post. Everything above this point depends on what’s happening here.
For sliding gates, Montclair’s dust is the quiet enemy. Fine particulate gets into wheel bearings, mixes with whatever lubricant is there, and forms a grinding paste. You’ll see it as dark residue around the wheel hubs. Check each wheel for wobble: grab the gate and try to rock it side to side. Movement at the wheel means a bearing is worn and that wheel is no longer carrying its share of the load. The remaining wheels now carry extra weight, and the operator motor works harder on every cycle.
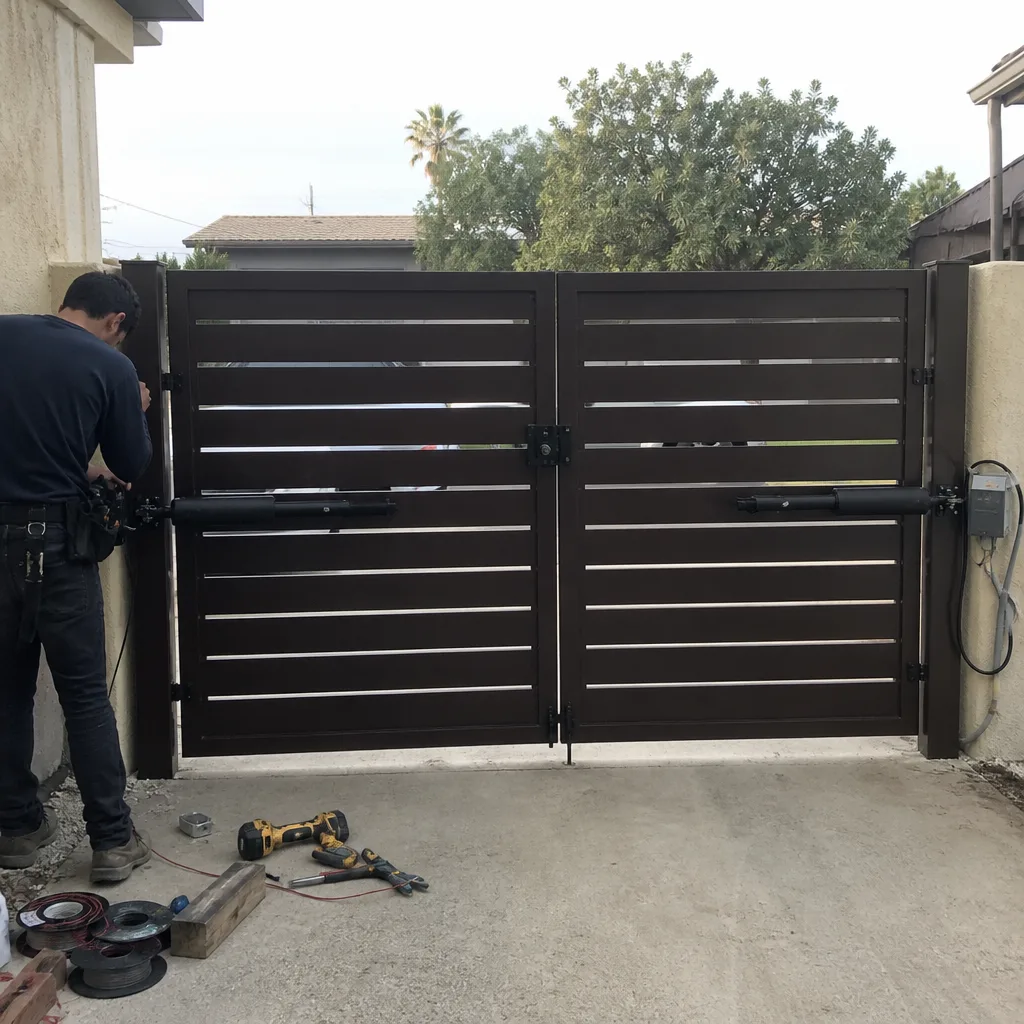
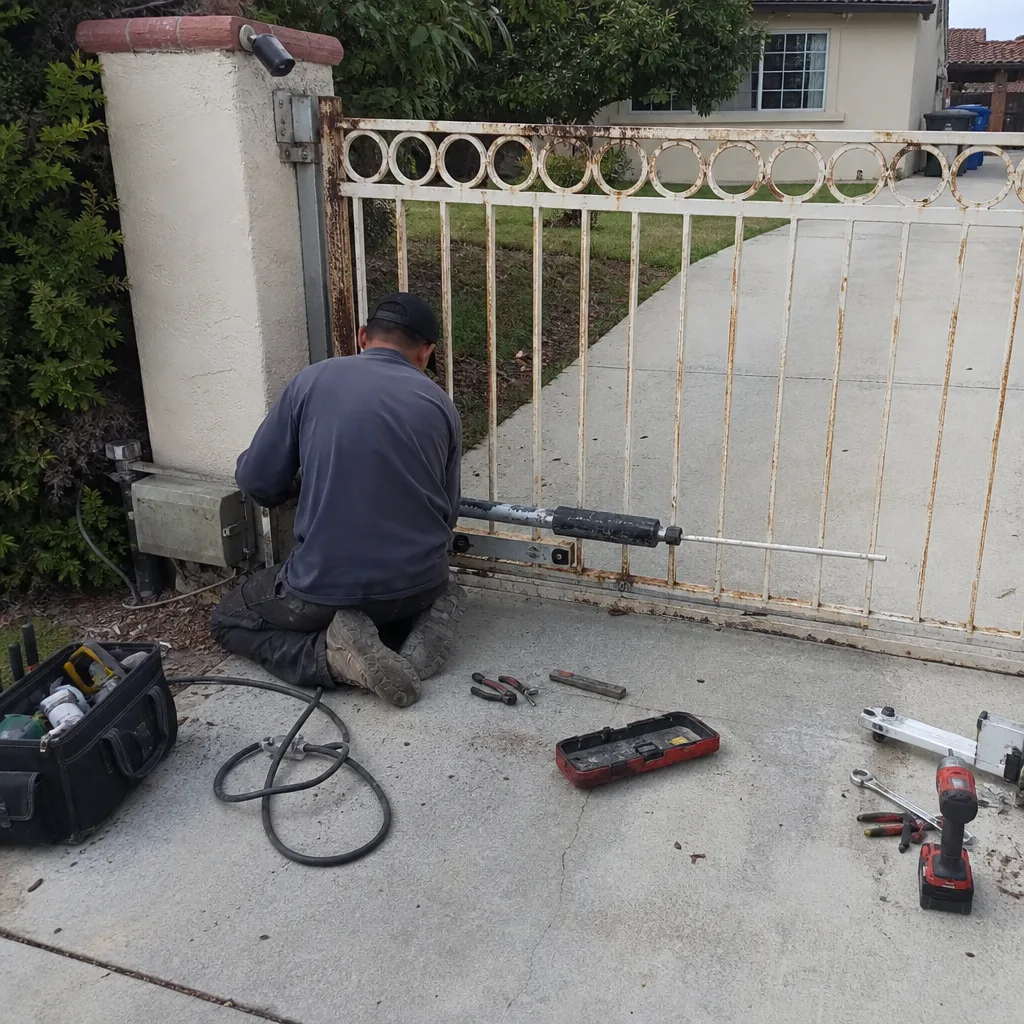
For swing gates, inspect the hinge welds and bolts. Look for rust streaks running down from the hinge, which indicate either a failing weld or a loosening bolt working against the post. Push and pull on the gate near each hinge. You shouldn’t feel play, click, or shift. In our experience, a gate that’s been swinging on a loosened hinge for even a few months will eventually crack the weld entirely, and then you’re looking at a gate off its post rather than a bolt that needed fifteen seconds with a wrench.
Montclair’s soil also matters. Clay-heavy soil in parts of the city expands and contracts with moisture, and posts set in concrete can shift a fraction of an inch per year. That fraction translates to a gate that doesn’t latch cleanly or a track that’s now slightly out of level. Check post plumb with a basic level twice a year, once after the rainy season and once at the end of summer.
Step 2: The Hand Movement Test (You’ll Hear Problems Before You See Them)
Every automated gate has a manual release, usually a pull handle or a keyed release on the operator. Use it. Disengage the operator and push the gate through its full travel by hand. Do this slowly, and do it without talking. What you’re listening for is the sound of the gate telling you where it hurts.
A gate in good mechanical shape moves smoothly with a consistent, low-level sound. A gate with problems telegraphs them: a rhythmic click means a bad wheel bearing. A metal-on-metal scrape means a roller has seized or the gate is dragging on the track. A rough, gravelly feel when you push means the chain or rack is dry or pitted. If the gate sticks at one point in its travel and then frees up, you’ve got a track issue, a bent rail, or a hinge that’s binding at a specific angle.
Here’s the part most homeowners skip: do this test with the gate moving in both directions. A wheel that’s fine rolling one way can bind rolling the other, especially if the track has a slight slope or a worn section. This is also the moment to check that the gate’s limit stops are physically intact. On a slide gate, the end stops should contact the gate frame, not the operator. On a swing gate, check the closed-position stop and the open-position stop. Missing or damaged stops mean the operator’s internal limits are doing work they were never designed to do, and that leads to stripped gears and cracked housings.
If the gate doesn’t move freely by hand, stop here. Do not re-engage the operator and run it under power. The resistance you feel by hand is amplified at the motor, and every cycle with that resistance is taking life off the operator’s mechanical components.
Step 3: Lubrication Points and Products for Montclair’s Climate
Montclair is hot and dry most of the year, with a winter that can unexpectedly dip below freezing. That climate profile dictates what you use and where you put it. The rule we give our customers: keep lubricant out of the track, and keep it on the moving metal parts that need it.
For chains, use a dry-film chain lube or a light machine oil applied to the chain’s side plates and rollers. Do not use grease. Grease captures Montclair’s dust and turns into an abrasive compound that wears chain links and sprocket teeth faster than no lubrication at all. For rack-and-pinion gates, use a dry graphite spray or a dry molybdenum lube on the rack teeth. A little goes a long way: one pass along the rack, then work the gate by hand to distribute it.
Hinges on swing gates need a heavier product. White lithium grease or a marine-grade grease works well here because it stays where you put it and doesn’t run in summer heat. Apply at the hinge pin, work the gate back and forth a few times, and wipe off the excess that squeezes out. Excess grease is just a dust magnet.
Wheel bearings on sliding gates are typically sealed. If they’re sealed, you can’t lubricate them; the maintenance is checking for play and replacing them when they’re done. If they have grease fittings, a single pump of lithium grease per bearing per season is enough. Over-greasing blows out the seal and the same dust problem follows.
One more Montclair note: after the Santa Ana winds, wipe down the chain or rack with a dry rag before you lubricate. A thin layer of wind-deposited grit on a lubricated surface is worse than no lubrication. Clean first, then lubricate.
Step 4: Operator Inspection – Chain, Belt, Arm, and Gearbox
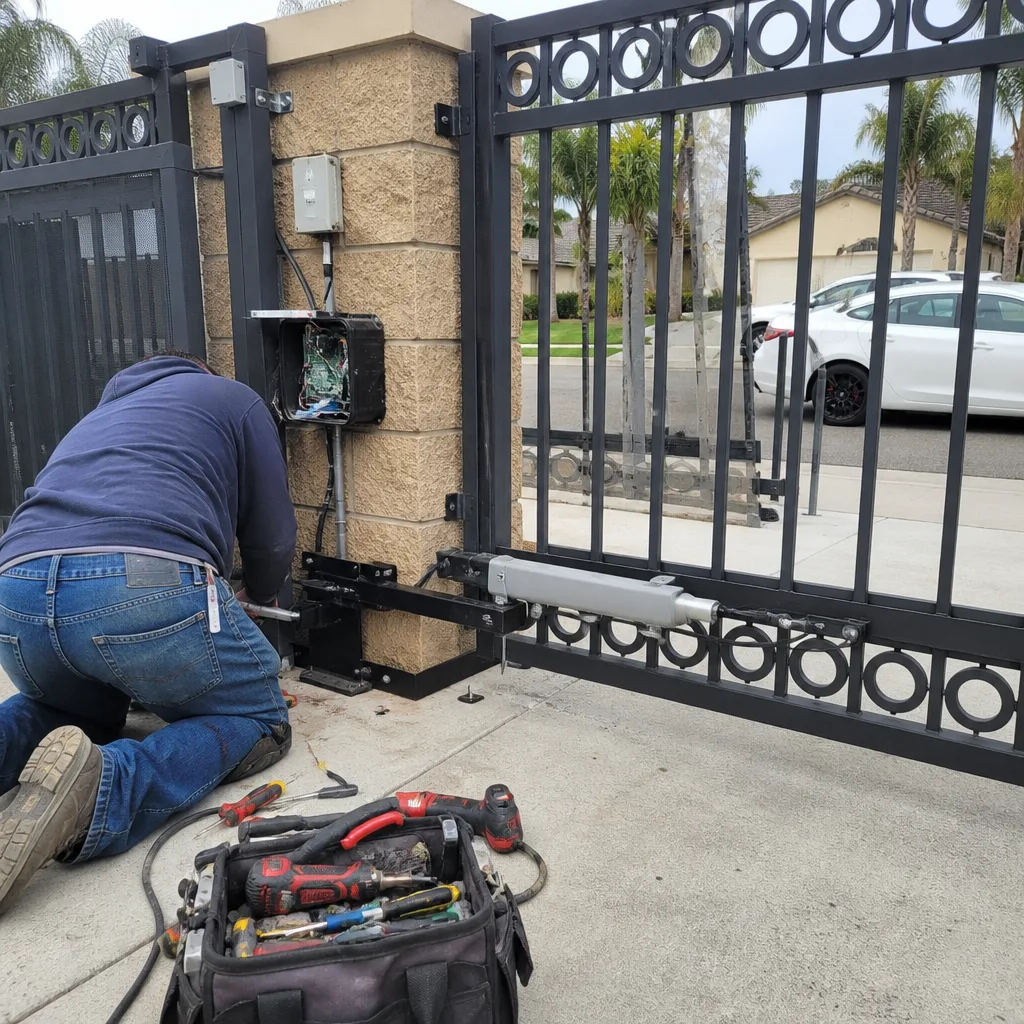
Once the gate moves smoothly by hand, the operator gets its turn. Open the operator cover. If you’re not comfortable with what you see inside, that’s fine, this is the section where many homeowners decide to call a professional. But the visual checks below are safe and revealing even for someone who’s never opened an operator before.
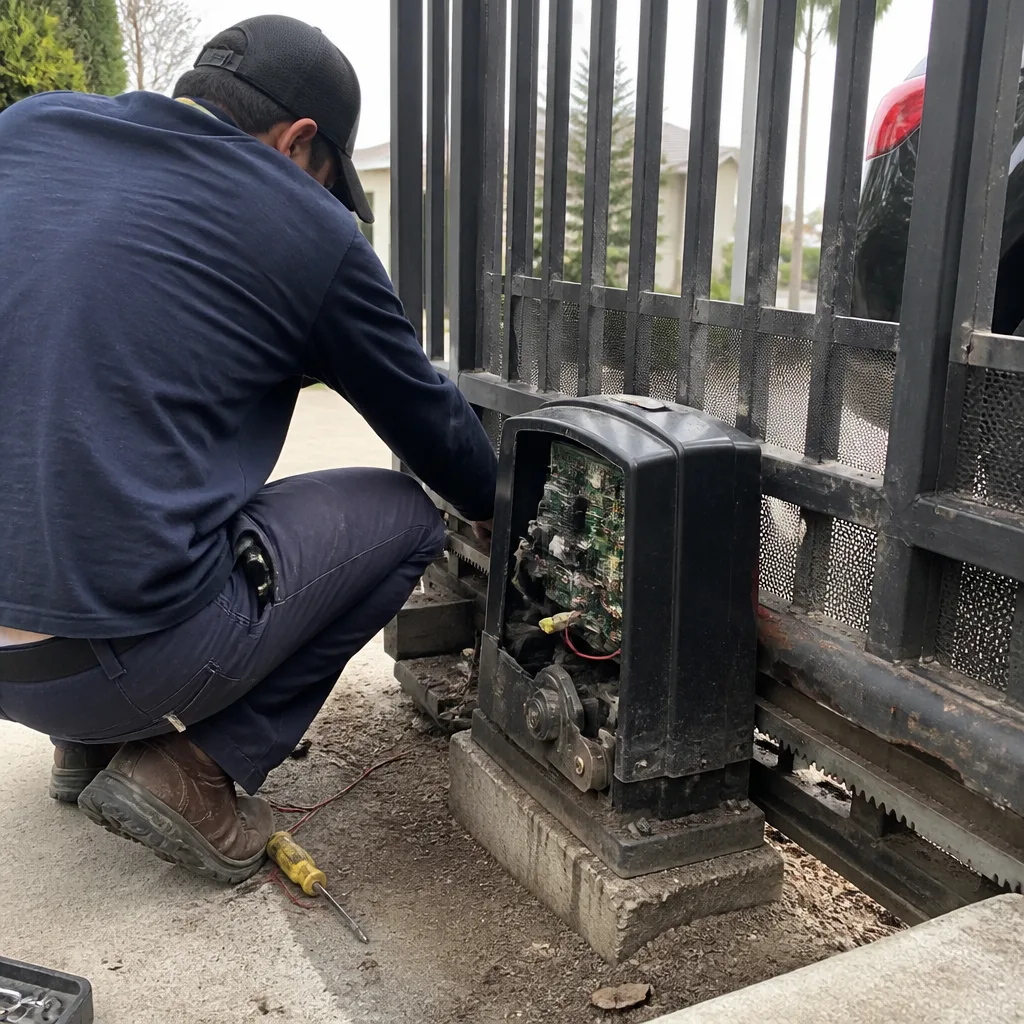
First, look at the drive belt or chain inside the operator. A belt with cracks, glazing, or missing teeth needs replacement before it strips. A chain that’s visibly loose, sagging more than a quarter inch under light finger pressure, needs tensioning. We see belt failures most often on residential operators that have been running out of alignment for months; the belt wears on one edge first, and you’ll see a feathered or frayed edge on one side.
Next, the gearbox. Look for oil weeping from the gearbox seal, which shows up as a dark, tacky film on the operator’s base plate. A dry gearbox runs hot and wears its gears quickly, and by the time you hear a gearbox whine, the damage is already underway. If your operator has a vent cap, make sure it’s not clogged with dust; a clogged vent builds internal pressure and pushes oil past the seals.
The arm between operator and gate on a swing system has bushings that wear. Grab the arm and try to move it up and down. Play at the pivot points means the arm isn’t transmitting force cleanly, and the operator has to work harder at the beginning of every stroke. On a slide gate, check the chain tension at mid-span. A chain that’s too tight loads the gearbox bearings; too loose and it can jump the sprocket and drop the gate off its track mid-open.
This is also the time to look at the operator’s mounting bolts. Heat cycling and vibration work them loose over a couple of seasons in Montclair’s summer. A quarter-turn on four bolts once a year prevents an operator that’s shifting in its mount and tearing up everything connected to it.
Step 5: Testing Safety Reversals and Photo Eyes Without Special Tools
Safety devices fail silently. The gate opens and closes normally for months while the photo eyes drift out of alignment or the reversal circuit stops responding, and the first sign of trouble is when the gate hits something it should have stopped for. Testing these devices is a hands-on, no-meter job, and it should be part of every seasonal check.
Photo eye test: stand so you block the beam while the gate is closing. The gate should reverse immediately or stop and reverse, depending on how the board is programmed. Now block only one eye and repeat. If the gate reverses with one blocked but not the other, you’ve got an alignment or sensitivity issue on one side. Check that each eye’s lens is clean; Montclair’s dust settles on lenses and reduces the beam’s effective range. A soft cloth and a drop of glass cleaner fix most photo eye issues without a service call.
Obstruction reversal test: place something that won’t damage the gate, a cardboard box or a plastic trash bin, in the gate’s closing path. Run the gate closed. The gate should reverse when it contacts the obstacle, or stop before contact if the system uses an edge sensor or a monitored loop. If the gate pushes through the obstacle, the reversal circuit is not working, and that’s not a maintenance item. It’s a repair, and it’s urgent. A gate that closes through an obstruction is a safety hazard for kids, pets, and vehicles.
Loop detector test for vehicles: if your gate runs on a ground loop, pull your car up to the gate and stop on the loop. The gate should hold open. Back the car off the loop and wait. The gate should resume its close cycle. A loop that fails intermittently is often a cracked wire at the saw-cut edge of the loop, and that’s a repair worth scheduling before the intermittent failure becomes permanent.
Run these three tests every season. They take ten minutes total and they catch the silent failure modes that regular visual inspections miss.
Step 6: Battery Backup Condition Checks
Battery backup is the component nobody thinks about until a power outage turns a working gate into a locked driveway. Most backup batteries in gate operators are sealed lead-acid units with a lifespan of three to five years, and Montclair’s heat shortens that. Summer temperatures inside a metal operator box routinely exceed 120 degrees, and heat is the primary killer of lead-acid batteries. A battery that’s three years old in Montclair is already on borrowed time.
Check the battery visually: look for swelling on the case, corrosion on the terminals, or a white crystalline residue around the posts. Any of those means the battery needs replacement. If the battery looks clean, the next check is a load test, and this one requires either a multimeter or a simple observation. Cut power to the operator at the breaker or the disconnect switch, then run the gate. If the gate moves at full speed and completes a full open and close cycle, the battery is holding a charge. If the gate is sluggish, slows mid-cycle, or won’t run at all, the battery is either drained or dead.
We recommend testing battery backup at least twice a year, once in early summer and once in early winter. If the battery doesn’t get your gate through a complete cycle under test conditions, it won’t get you through a real outage either. A battery replacement is a fraction of the cost of an emergency service call when the power’s out and you can’t get your car out of the driveway.
Step 7: Electrical Checks That Separate DIY From Pro Work
Everything above is within reach of a careful homeowner with basic hand tools. The electrical layer is where we draw the line differently. Some checks are safe and useful for anyone. Others require a meter, an understanding of the system, and the judgment to know what a reading means. Here’s the split.
Safe DIY checks: visually inspect all exposed wiring for cracked insulation, chew marks from rodents, or loose connections at terminal blocks. Look for discoloration around terminals, which indicates heat from a loose connection. Check that wire nuts are tight and that nothing is touching the operator’s metal housing. Verify that conduit and fittings are intact and that no wires are exposed to the elements. These are visual checks that require no tools and no contact with live conductors.
Checks that need a meter and a trained eye: verifying control board voltage, testing capacitor condition, checking loop detector resistance, and tracing intermittent faults. We’ve seen too many DIY electrical repairs in Montclair where a homeowner replaced a good board because the real fault was a low-voltage short in the photo eye wiring. The meter tells you where the problem is; the experience tells you what the reading means. Most Viking, Ghost Controls, DoorKing, and Elite systems have specific diagnostic procedures, and each brand’s boards behave differently under fault conditions. If you’re not certain what you’re measuring, a home visit from Gate Repair in Sky Valley costs less than replacing the wrong part.
One electrical item that’s worth doing regardless of skill level: check the operator’s disconnects, both the main power disconnect and the battery disconnect if installed. Make sure they’re clean, dry, and accessible. A disconnect that’s buried behind stored boxes or covered in dust is a safety hazard and a Gate Repair Permits, Codes & Inspections in CA: What You Need to Know violation.
Common Mistakes to Avoid
- Lubricating the track. We see this more in Montclair than anywhere else, because the instinct is to make everything slippery. Grease, oil, or even WD-40 on the track or rail collects dust and grit, and within a month you’ve created a grinding surface that wears wheels and rails faster than dry. Keep the track clean and dry. Lubricant goes on the mechanical parts, never on the rolling surface.
- Running the operator with the gate bound. If the gate doesn’t move freely by hand, running it under power is feeding the problem. A binding gate overloads the motor, the gearbox, and the board, and what might have been a $50 hinge repair becomes an operator replacement.
- Ignoring gate noise. A gate that’s getting louder is a gate that’s failing. Squeaks, grinding, thumping, all of it means something specific. Write down when the noise happens, at which point in the gate’s travel, and in which direction. That information gets a diagnosis faster than a photo of the operator.
- Adjusting safety devices to make the gate work. When a photo eye is misaligned or an edge sensor is faulty, the gate misbehaves. Some homeowners respond by disabling or bypassing the safety device so the gate works normally. That’s dangerous. Fix the safety device, don’t disable it.
- Testing only in fair weather. Gates often fail in the conditions you’re not testing in. Montclair’s occasional winter freeze is when weak batteries, stiff hinges, and marginal boards show themselves. If you only test in mild weather, you’ll never see what winter is doing to the system.
- Replacing parts based on internet guesses. We’ve seen gates with three new boards and a new motor that still wouldn’t run, because the actual fault was a chafed wire shorting to the post. Parts replacement without diagnosis is expensive and slow. Trace the fault first.
- Skipping the seasonal check entirely. The most expensive gates we repair in Montclair are the ones nobody looked at for three years. A gate that goes from working to dead almost always gave warnings. The quarterly checklist is fifteen minutes. The rebuild is weeks of downtime and real money.
When to Call a Professional
Some gate issues are safe to tackle as maintenance, and some are not. You should call a professional if the gate is not moving by hand when released, if the operator makes a grinding or popping noise from the gearbox, if the control board shows an error code you can’t identify from the manual, or if any safety device has failed and you’ve confirmed it’s not a simple cleaning or alignment issue. High-voltage wiring, capacitor replacement, and spring-loaded mechanisms on certain gate types are not DIY territory; a mistake there can cause serious injury. We work on Viking, Ghost Controls, DoorKing, and Elite systems alongside the other major brands, so we’re equipped to diagnose what’s in front of us without trial and error. Electric Gate Repair in Sky Valley goes deeper into what’s involved when the electrical side needs professional attention. Montclair Gate Repair offers free estimates in Montclair – call (866) 371-3309.
Frequently Asked Questions
Run a complete maintenance check every three months, with a lighter visual inspection monthly. Montclair’s heat and dust accelerate wear, and the quarterly schedule catches issues before they have a season to worsen. If your gate sees heavy daily use, moving to every two months is reasonable.
Use a dry-film chain lube or light machine oil, never grease. Montclair’s dust sticks to grease and forms an abrasive paste that accelerates chain and sprocket wear. Dry-film lubes leave a protective layer without the sticky surface that captures grit.
Yes. Block the photo eye beam with your body while the gate closes and verify it reverses. Place a cardboard box in the gate’s path and confirm the reversal system responds. Test your vehicle loop by stopping on it and confirming the gate holds open. These tests require no tools and take about ten minutes.
A professional maintenance visit typically includes the full inspection sequence, lubrication, adjustment, and safety testing. For homeowners who want to go deeper on their own, we also publish more guides & resources. The cost varies based on gate size, operator type, and what’s found during the inspection. Call (866) 371-3309 for an exact quote, estimates are free and the price is agreed before any work starts.
Heat-related board and battery failures combined with dust-accelerated mechanical wear. Control boards and backup batteries run hot inside metal operator enclosures during Montclair summers, and dust shortens the life of chains, bearings, and belts. The combination means electrical components fail earlier here than they do in coastal climates.
Montclair Gate Repair handles emergency gate failures, and a stuck gate is a security gap as much as a convenience problem. Call (866) 371-3309 and describe what the gate is doing, including any noises and when the problem started. That information helps us arrive with the right parts and tools on the truck.
The Bottom Line
A Montclair gate lives a hard life: blazing summers, gritty wind, and temperature swings that stress every moving part and every circuit board. The maintenance checklist above is built around that reality. Move through it in the sequence we outlined, mechanical before electrical, and you’ll catch the small things that become expensive things. Fifteen minutes per quarter, the right products in the right places, and safety tests that take ten minutes. That’s the whole program. And when something shows up that you’re not sure about, or a test fails, or the meter reads something you can’t interpret, Montclair Gate Repair home is here in Montclair with nine major brands covered and one call. For full Gate Installation in Sky Valley or any repair need, we’re at (866) 371-3309.
Written by the team at Montclair Gate Repair, serving Montclair since 2013.
See the difference
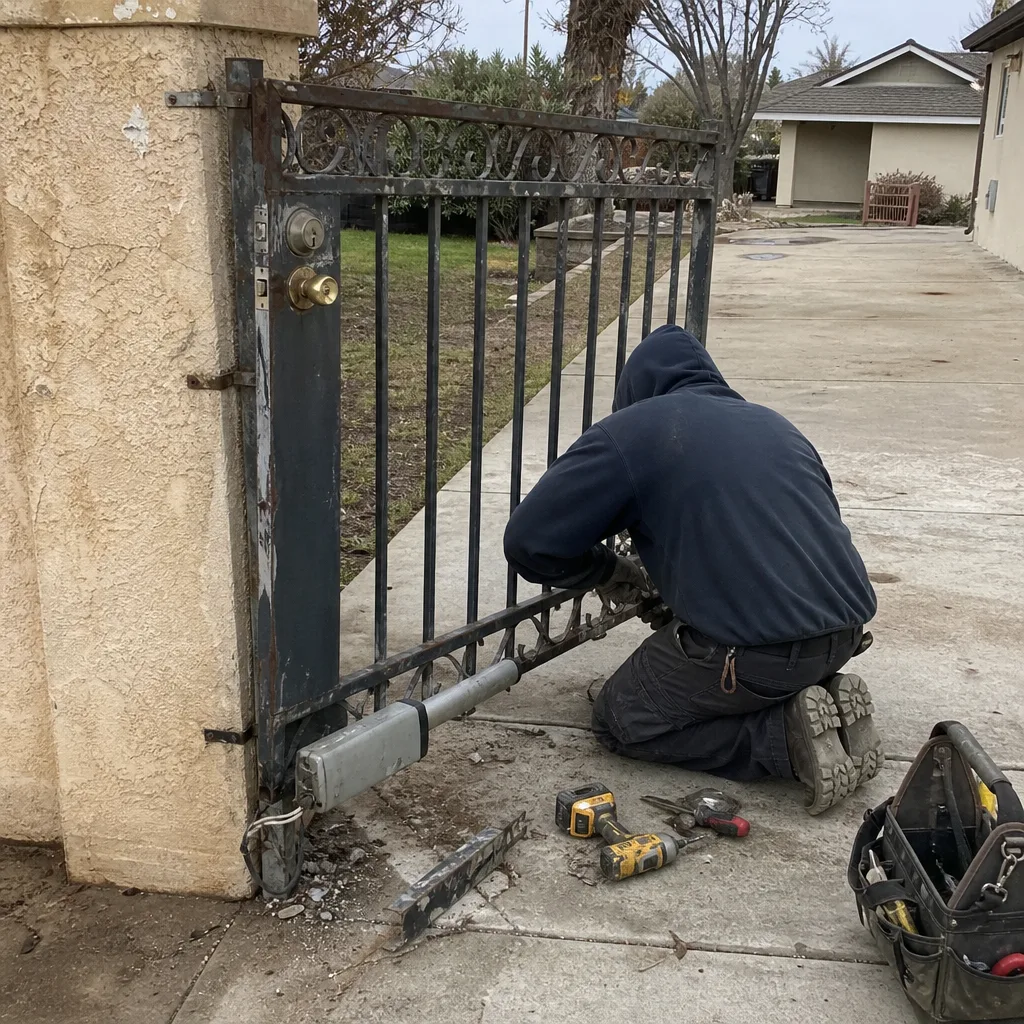 Before
 After
 Before
 After
 Before
 After